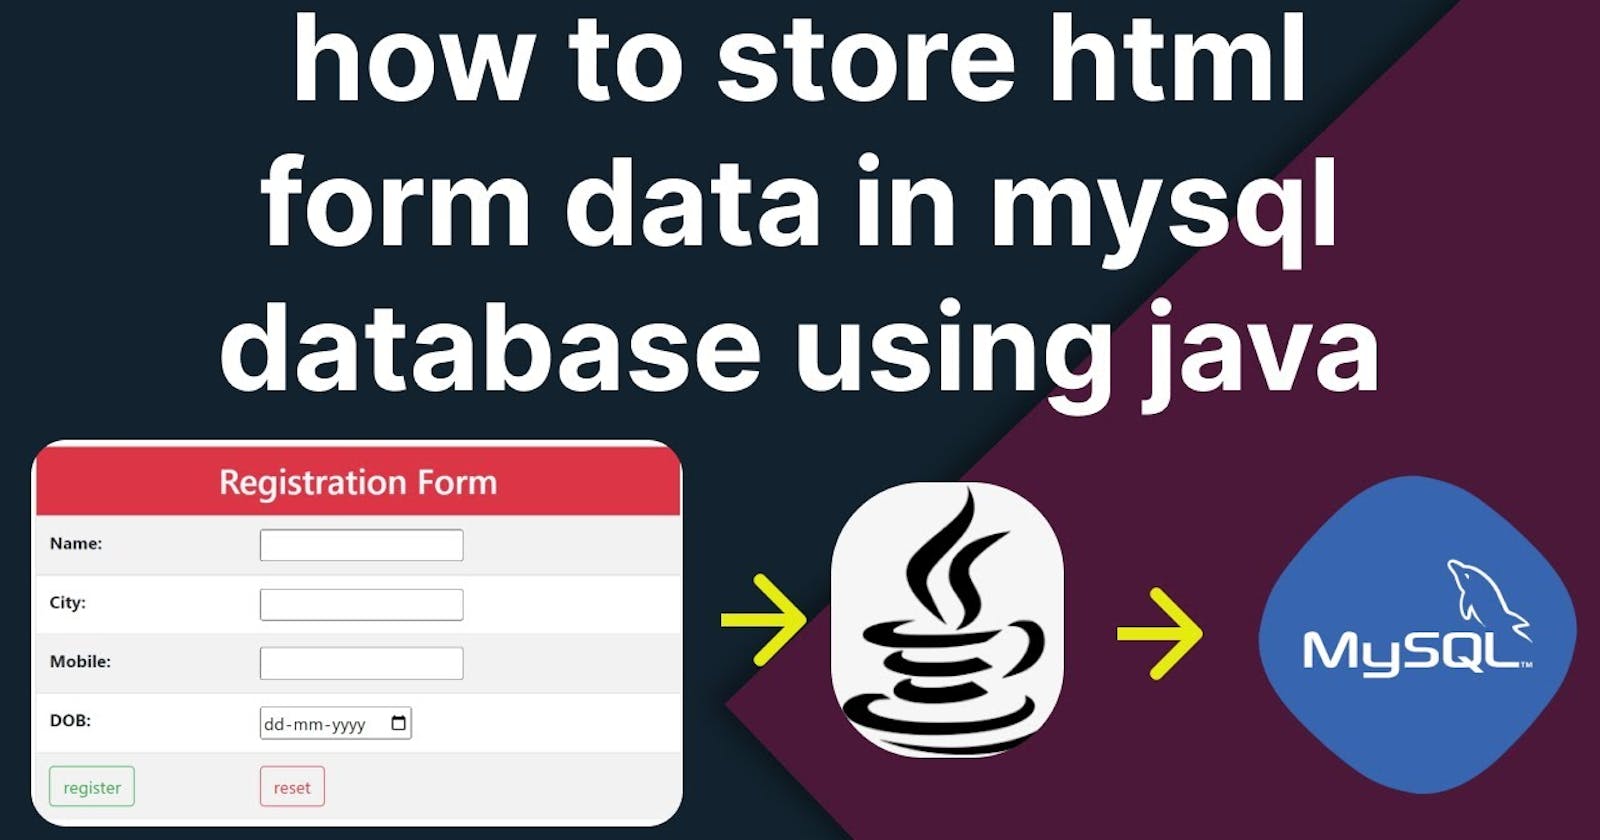
how to store html form data in mysql database using java | Java Servlet and JDBC Example
For Detailed Explanation watch the video
step 1 : Create the dynamic web project in eclipse ide

step 2 : create home.html in webapp

step 3 home.html :
home.html
<!DOCTYPE html>
<html>
<head>
<meta charset="ISO-8859-1">
<title>Insert title here</title>
<!-- Latest compiled and minified CSS -->
<link rel="stylesheet"
    href="https://cdn.jsdelivr.net/npm/bootstrap@4.6.1/dist/css/bootstrap.min.css">

<!-- jQuery library -->
<script
    src="https://cdn.jsdelivr.net/npm/jquery@3.5.1/dist/jquery.slim.min.js"></script>

<!-- Popper JS -->
<script
    src="https://cdn.jsdelivr.net/npm/popper.js@1.16.1/dist/umd/popper.min.js"></script>

<!-- Latest compiled JavaScript -->
<script
    src="https://cdn.jsdelivr.net/npm/bootstrap@4.6.1/dist/js/bootstrap.bundle.min.js"></script>
<style>
#div1 {
    width: 600px;
    height: 400px;
    margin: auto;
    margin-top: 100px;
}
</style>
</head>
<body class="container-fluid">
    <div class="card" id="div1">
        <h2 class="card-header text-center text-light bg-danger">Registration
            Form</h2>
        <form class="form" action="register" method="get">
            <table class="table table-hover table-striped">
                <tr>
                    <td>Name:</td>
                    <td><input type="text" name="name"></td>
                </tr>
                <tr>
                    <td>City:</td>
                    <td><input type="text" name="city"></td>
                </tr>
                <tr>
                    <td>Mobile:</td>
                    <td><input type="text" name="mobile"></td>
                </tr>
                <tr>
                    <td>DOB:</td>
                    <td><input type="date" name="dob"></td>
                </tr>
                <tr>
                    <td><input type="submit" value="register"
                        class="btn btn-outline-success"></td>
                    <td><input type="reset" value="reset"
                        class="btn btn-outline-danger"></td>
                </tr>
            </table>
        </form>
    </div>
</body>
</html>
step 4 : right click on project
go to the build path , then click on configure build path

go to the library then click on classpath

click on add external jar

go to the location where you downloaded the tomcat servlet api and mysql driver you can download servlet api here if you are using tomcat 9 version : https://mvnrepository.com/artifact/org.apache.tomcat/tomcat-servlet-api/9.0.55
download mysql driver from here : https://mvnrepository.com/artifact/mysql/mysql-connector-java/8.0.22
step 5 : after adding the jars you will find the jars in the classpath and then click on apply and close

step 6 : create the schema with name firstdb in mysql workbench
step 7 : create tab with name USER having the columns NAME,CITY,MOBILE,DOB.
step 8 : create the package and on that package create RegisterServlet.java file
RegisterServlet.java
package com.servlet.register;

import java.io.IOException;
import java.io.PrintWriter;
import java.sql.Connection;
import java.sql.DriverManager;
import java.sql.PreparedStatement;
import java.sql.SQLException;

import javax.servlet.ServletException;
import javax.servlet.annotation.WebServlet;
import javax.servlet.http.HttpServlet;
import javax.servlet.http.HttpServletRequest;
import javax.servlet.http.HttpServletResponse;

@WebServlet("/register")
public class RegisterServlet extends HttpServlet{

    //create the query
    private static final String INSERT_QUERY ="INSERT INTO USER(NAME,CITY,MOBILE,DOB) VALUES(?,?,?,?)";

    @Override
    protected void doGet(HttpServletRequest req, HttpServletResponse res) throws ServletException, IOException {
        //get PrintWriter
        PrintWriter pw = res.getWriter();
        //set Content type
        res.setContentType("text/hmtl");
        //read the form values
        String name = req.getParameter("name");
        String city = req.getParameter("city");
        String mobile = req.getParameter("mobile");
        String dob = req.getParameter("dob");

        //load the jdbc driver
        try {
            Class.forName("com.mysql.cj.jdbc.Driver");
        } catch (ClassNotFoundException e) {
            // TODO Auto-generated catch block
            e.printStackTrace();
        }
        //create the connection
        try(Connection con = DriverManager.getConnection("jdbc:mysql:///firstdb","root","root");
                PreparedStatement ps = con.prepareStatement(INSERT_QUERY);){
            //set the values
            ps.setString(1, name);
            ps.setString(2, city);
            ps.setString(3, mobile);
            ps.setString(4, dob);

            //execute the query
            int count = ps.executeUpdate();

            if(count==0) {
                pw.println("Record not stored into database");
            }else {
                pw.println("Record Stored into Database");
            }
        }catch(SQLException se) {
            pw.println(se.getMessage());
            se.printStackTrace();
        }catch(Exception e) {
            pw.println(e.getMessage());
            e.printStackTrace();
        }

        //close the stream
        pw.close();
    }

    @Override
    protected void doPost(HttpServletRequest req, HttpServletResponse resp) throws ServletException, IOException {
        // TODO Auto-generated method stub
        doGet(req, resp);
    }
}
step 9 : add mysql connector jar to the lib folder lib location - src/main/webapp/WEB-INF
step 10 : edit web.xml
web.xml
<?xml version="1.0" encoding="UTF-8"?>
<web-app xmlns:xsi="http://www.w3.org/2001/XMLSchema-instance" xmlns="http://xmlns.jcp.org/xml/ns/javaee" xsi:schemaLocation="http://xmlns.jcp.org/xml/ns/javaee http://xmlns.jcp.org/xml/ns/javaee/web-app_4_0.xsd" id="WebApp_ID" version="4.0">
  <display-name>HtmlToDB</display-name>
  <welcome-file-list>
    <welcome-file>home.html</welcome-file>
    <welcome-file>index.htm</welcome-file>
    <welcome-file>index.jsp</welcome-file>
    <welcome-file>default.html</welcome-file>
    <welcome-file>default.htm</welcome-file>
    <welcome-file>default.jsp</welcome-file>
  </welcome-file-list>
</web-app>
step 11 : run the application on the server
